
How a VPN Works: A Technical and Practical Guide
Why Do We Need a VPN?
When you browse the internet, your device connects directly to websites. Without protection:
- Your Internet Service Provider (ISP) can see the websites you visit.
- Hackers on public Wi-Fi can intercept your data.
- Websites can track your real IP address, revealing your location.
A VPN solves these issues by creating a secure and private connection.
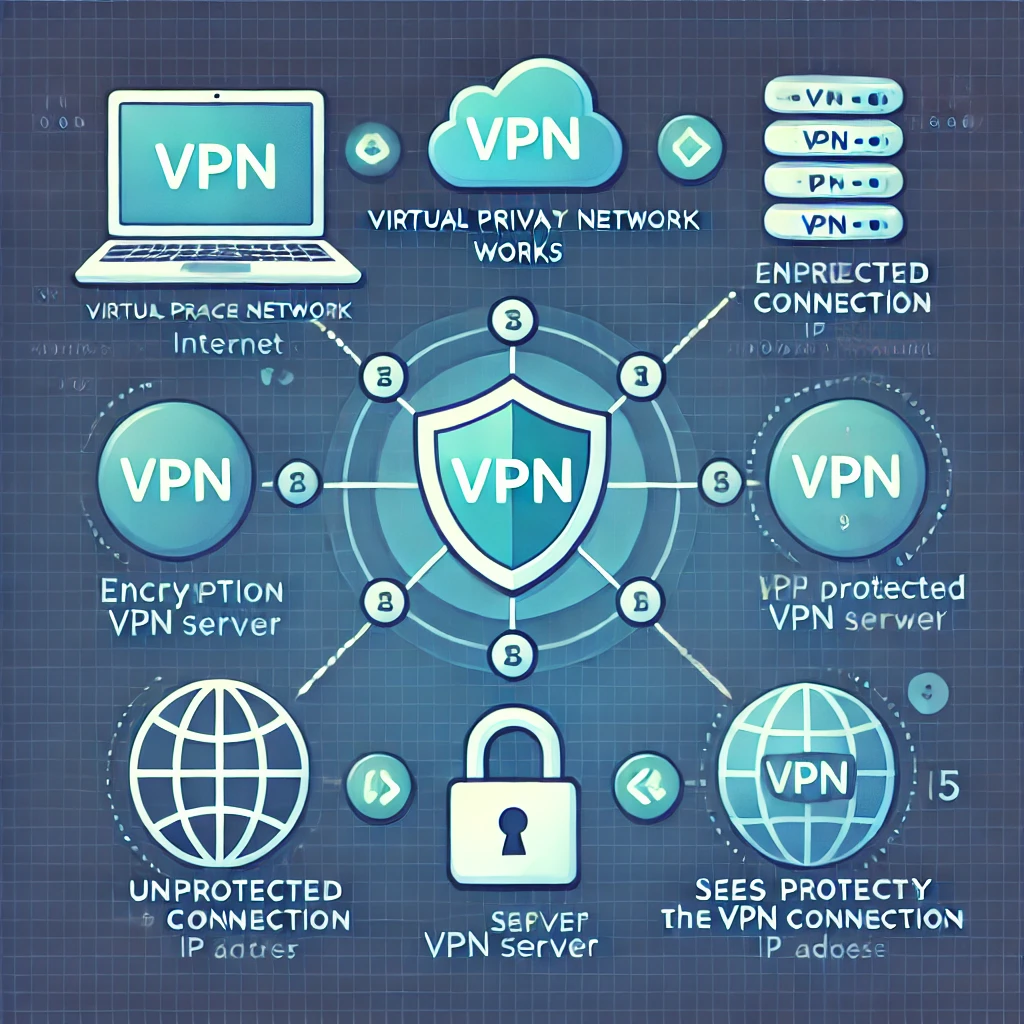
What Is a VPN and What Does It Do?
A Virtual Private Network (VPN) is a service that encrypts your internet connection and routes it through a remote server, hiding your IP address and protecting your data.
What Happens When You Use a VPN?
Without a VPN:
📍 Your real IP is visible → Websites know your location.
🔓 Your traffic is readable → Your ISP or hackers can intercept your data.
With a VPN:
🔒 Your traffic is encrypted → No one can read it.
🌍 Your IP is hidden → Websites see the VPN server’s IP, not yours.
🚀 You can bypass restrictions → You appear as if browsing from another country.
🔎 Try this experiment:
1️⃣ Search “What is my IP” on Google.
2️⃣ Turn on a VPN and refresh the page.
3️⃣ Notice the IP address change!
How Does a VPN Work Technically?
Let’s break down what happens when you connect to a VPN.
The VPN Tunnel
When you activate a VPN:
- Your device establishes a secure connection with the VPN server.
- The connection is encrypted using security protocols.
- All data you send and receive passes through the VPN tunnel.
- The website sees the VPN server’s IP, not your real IP.
📌 Analogy:
Imagine writing a letter, but instead of sending it directly, you put it in a sealed envelope and send it to a trusted intermediary, who then forwards it.
The recipient gets the letter without knowing who really wrote it (because they only see the “intermediary” sender – the VPN server).
VPN Protocols: How Encryption Works
A VPN protects data using encryption protocols to secure the connection.
4.1 Common VPN Protocols
🛡 OpenVPN – Secure, open-source, widely used.
🚀 WireGuard – Faster and more modern than OpenVPN.
📱 IKEv2/IPSec – Great for mobile devices, stable on network changes.
💡 Practical exercise: If you use a VPN, check the settings to see which protocol it uses!
How Does a VPN Encrypt Data?
Once the VPN tunnel is active, all your data is encrypted, meaning it’s converted into an unreadable format unless decrypted with the right key.
🔑 Encryption methods used by VPNs:
- AES-256 – Used by governments and banks for top security.
- ChaCha20 – A faster alternative used in WireGuard.
⚠️ Without a VPN: A hacker on public Wi-Fi could read your data.
✅ With a VPN: Even if someone intercepts your traffic, they’ll see unreadable, encrypted data.
How Data Travels Through a VPN
1️⃣ Without a VPN
- Your PC connects directly to a website.
- The website sees your real IP.
- Your ISP can track your activity.
2️⃣ With a VPN
- Your PC connects first to the VPN server.
- The VPN server encrypts the data and forwards it to the website.
- The website sees the VPN’s IP, not yours.
📌 Analogy:
Imagine calling a friend, but instead of using your real phone number, you route the call through a middleman who relays the message. The recipient never knows your real identity.
VPN Limitations and Downsides
While VPNs are useful, they are not a perfect solution.
⚠️ VPN Limitations
⏳ Slower connection speeds – Your data must travel through an extra server.
🚫 Some sites block VPNs – Netflix and banking sites may detect and restrict VPN access.
🔍 Not 100% anonymous – The VPN provider can still see your traffic unless they have a “no-log” policy.
💡 Solution: Choose a reliable VPN provider with a strict no-logs policy and select nearby servers to reduce latency.
📝 Knowledge Check: Test Your Understanding
1️⃣ What is the main purpose of a VPN, and how does it protect your internet connection?
a) It speeds up your internet connection.
b) It hides your IP address and encrypts your traffic.
c) It blocks all ads and pop-ups.
d) It prevents websites from collecting cookies.
2️⃣ How does a VPN tunnel work, and what happens to your IP address when you use a VPN?
a) Your real IP address is replaced with the VPN server’s IP.
b) Your real IP address is still visible to websites.
c) Your device connects directly to the internet without encryption.
d) The VPN tunnel allows websites to track you more easily.
3️⃣ Which encryption protocols do VPNs use, and why is encryption important?
a) OpenVPN, WireGuard, and IKEv2/IPSec, because they secure data in transit.
b) VPNs do not use encryption; they only change your IP address.
c) VPNs use basic passwords to encrypt data.
d) Encryption is unnecessary because the internet is already secure.
4️⃣ What are some common limitations of VPNs, and in which cases might a VPN not be useful?
a) VPNs can slow down connection speeds.
b) VPNs make you completely anonymous online.
c) VPNs are always free and have no security risks.
d) VPNs work perfectly on all streaming platforms without restrictions.
5️⃣ If you activate a VPN and visit a website, what does the website see—your real IP address or the VPN server’s IP? Why?
a) The website sees your real IP because VPNs don’t hide it.
b) The website sees the VPN server’s IP, because your traffic is routed through the VPN server.
c) The website sees a combination of both your real and VPN IPs.
d) The website is blocked because VPNs prevent access to all websites.
1-b , 2 – a, 3 – a, 4 – a, 5, b